Wednesday, November 25, 2020
Tags
- 10.16
- app
- App Kit
- application
- Big Sur
- mac
- macOS
- OAK2020
- Ohanaware
- realbasic
- realstudio
- SF Symbols
- xojo
Preparing your Xojo made Mac App for macOS Big Sur
Wednesday, November 25, 2020 - Sam Rowlands
Continuing on the preparing your Xojo made Mac app for macOS Big Sur, this article covers using Ohanaware App Kit & App Wrapper 4 to get that GUI goodness.
In order to be able to continue this series, I needed to get App Wrapper 4 much closer to release and I wanted to make a little sample application to demo some of cool functionality that you can get.
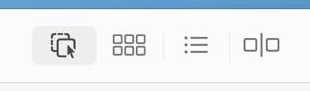
Unified Titlebar and Toolbar

Getting the unified titlebar with Xojo 2020r1.2 isn't possible, until I added functionality to App Wrapper. AW4 can modify the application, telling the macOS that this application is compatible with BS.
Now that Xojo 2020r2 is out; Xojo's ARM Mac apps do NOT need to be modified to enable the full Big Sur GUI features. These steps are only required for Intel apps.
If you don't have an active license plan for App Wrapper, you can always take advanatge of the 14-Day trial by downloading it from ohanaware.com/appwrapper/aw4.html
- Make sure you have a Toolbar configured on the window.
- Open the App Wrapper document for your application.
- Select "Advanced Options" from the "Edit" menu.
- Enable "Executable minimum macOS & SDK", then set the "SDK" to "11.0.0".

- Save the settings and save the document.
- If you don't already have the scripting set-up, now's a good time to do that. See the App Wrapper help on how to integrate with Xojo.
- Run the project and enjoy the BS style.
Controls in the unfied bar

Native Xojo doesn't support placing controls in the toolbar, but the App Kit has you covered there.
- When designing your Toolbar make sure the locations where you want to use controls are regular "PushButton" style toolbar items.

- In the open event of the toolbar add code to inject your control into the toolbar item.
Dim toolie as integer = NSWindowToolbar( me.handle ) if toolie = 0 then return NSToolbarSetNSView( toolie, <controlName>.handle, <index> ) - Run your project and the controls should now appear in the toolbar/titlebar.
Hiding the button labels is done by using the following code, place it under where you add the controls to the toolbar.
NSToolbarSetDisplayMode( Toolie ) = NSToolbarDisplayModeValue.iconOnly
SF Symbols in the controls
- Use the SFSymbols application to find the symbol you want to use, once you've found it, command-shift-c to copy the name (not the symbol). i.e. "cursorarrow.and.square.on.square.dashed"
- Now to get the SF Symbol as an image, to which we can use on controls, there's two ways.
NSImageWithSymbolNameAndFallBack( <symbolName>, <label>, <fallBackIconName> )NSImageWithSymbolName( NSImageClass, <symbolName>, <label> )
The first function is part of the Ohanaware App Kit 1.2, it will fall back to using an icon from the system or your resources if running on macOS 10.15 or lower. With App Wrapper 4, you can rasterize SF Symbols and include them in the resources for older OS versions.
- Once you have the NSImage, you can use the various functions in the Ohanaware App Kit to apply it to your controls. For this example, I'm applying it to a Segmented Control in the open event of the control.
NSSegmentedControlSetImageForSegment( me.handle, _
  NSImageWithSymbolNameAndFallBack( "cursorarrow.and.square.on.square.dashed", _
  "Make", "cursorarrow.and.square.on.square.dashedTemplate" ), 0 )
Rounded focus ring

This one is a bit tricky, as this custom control has rounded corners (to fit in with the Big Sur style) I wanted to make it show a rounded focus ring too. This could be done by watching the focus state of the control, grabbing the highlight color from the OS and drawing it myself. However the ring would Inside of the control, not on the outside, so it means redesigning the control to simulate the ring being outside... Or simply figuring out how to do it properly.
It turns out that Apple already has a way of handling this, it is just not exposed to Xojo developers. Which is where the XojoCanvasDelegates class of the Ohanaware App Kit comes in.
- In the open event of your application and before any windows are shown, initilize the XojoCanvasDelegates module.
XojoCanvasDelegates.init - You need to make something conform to the XojoCanvasDelegates.XojoCanvasDelegate proocol (interface in Xojo terms). This can be either a Canvas subclass or a window. For Iconographer I choose to use the window.
- In the open event of the canvas subclass or window, register the canvas with the delegate. As my delegate is the window, in window open I use.
XojoCanvasDelegates.registerDelegateForCanvas( me, makeIconWell ) - In the "drawFocusRingMask" method of the delegate, this is where you "draw" the focus ring. For Iconographer Mini, I use the following code to draw a rounded rect. You must use the OS drawing functions for this to work.
#if targetMacOS then
  NSBezierPathFill( NSBezierPathBezierPathWithRoundedRectxRadiusyRadius( NSBezierPathClass, _
  NSViewBounds( NSViewInstance ), 6, 6 ) )

  return true
#endif
The above code creates a NSBezierPath of a rounded rect, using the inner rect of NSViewInstance and arc of 6, then uses NSBezierPathFill. The system then turns this into a focus ring.
Vertical slider
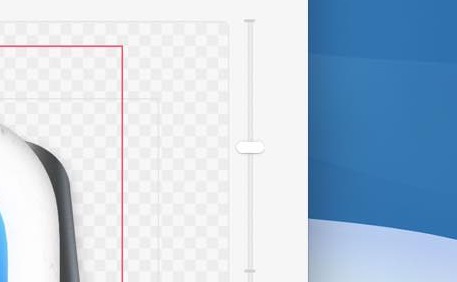
This one is really easy... In the open event of the slider, add this one liner (it's one lined, but wrapped in a macOnly block).
#if targetMacOS then
  NSSliderSetVertical( me.handle ) = true
#endIf
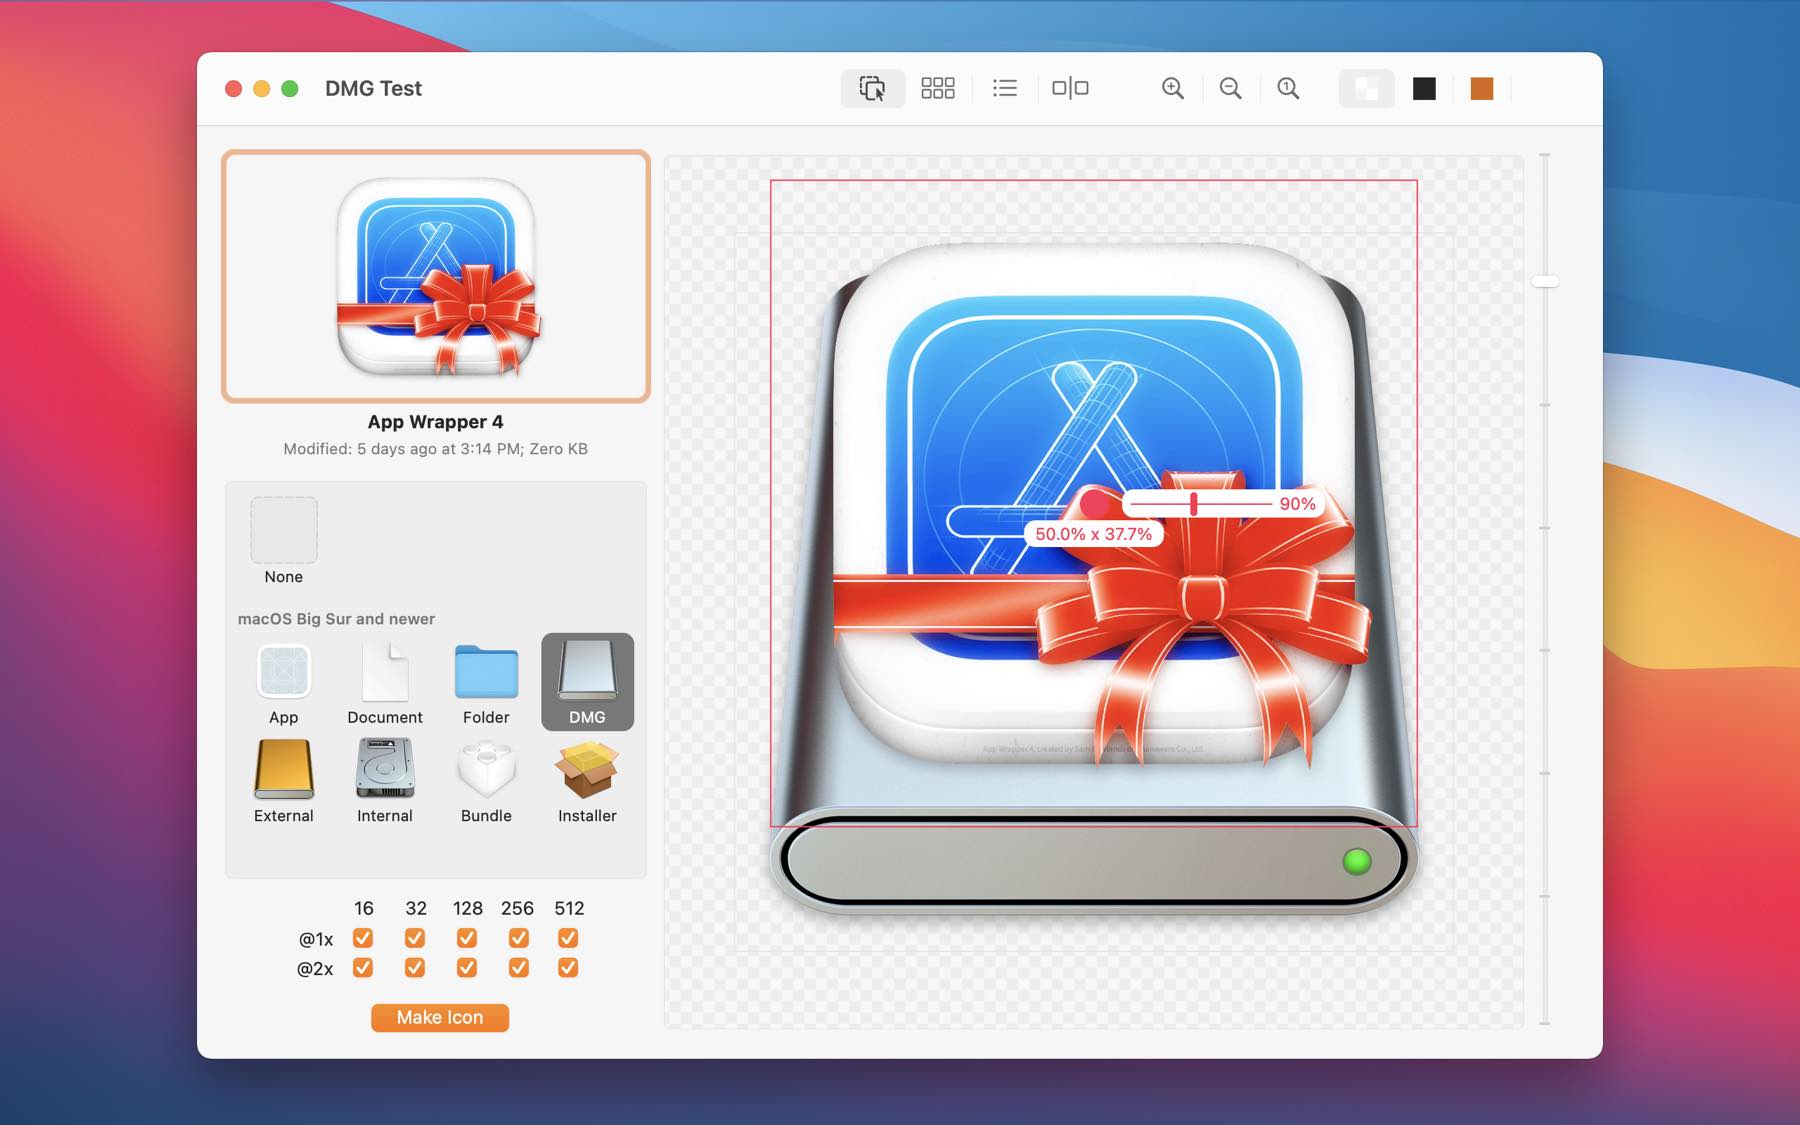
system icons
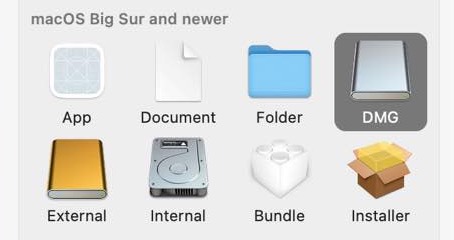
The above icons are from the OS and are drawn into the resulting icon using OS API, or in this case, they're displayed an OWGridView, where each gridItem contains a ImageWell.
- For known system icons that have a NSImage identifier, you can use
Dim nsi as Ptr = NSImageFromName( "NSImageNameIconViewTemplate" ) - For the others... I had to use to reosrt to the old Mac icon ids of the classic era "hdsk".
Dim nsi as Ptr = NSImageForClassicIcon( "hdsk" )
That just left configuring the image well to do two things it doesn't as standard, no-border and to auto scale the icons to fit the well (up or down).
NSImageWellImageFrameStyle( me.handle ) = NSImageFrameStyle.none
NSControlImageScaling( me.handle )      = NSImageScaling.proportionallyUpOrDown
NSViewUnregisterDraggedTypes( me.handle )
The last line is optional, but it stop the user from being able to accidentally overwrite our icon by dragging and dropping a different one on top.
In closing
I've been wanting to write an article like this for some time, but it's taken a lot of work behind the scenes to get here.
I hope that this article helps you to build better macOS apps with Xojo, any questions, send me a message.